When it came time to encase the large angular shoulder pieces in a continuous skin of felt, I had some trepidation as they were the largest forms I had tried to skin and were also more pointy than previous objects I had worked. I had two viable options. One option was to create a 2-D template far larger than the form to allow for the high shrinkage needed to create a thin felt skin. I could lay the wool around the template and after initial felting I could make a cut in the skin, remove the template, insert the metal armature, stitch up the cut and proceed with fulling the felt taut around the form. I was concerned with this method because the felt would be very delicate when I inserted the metal form in order to assure I could seal the large cut without visual evidence. I feared the points would puncture the felt.
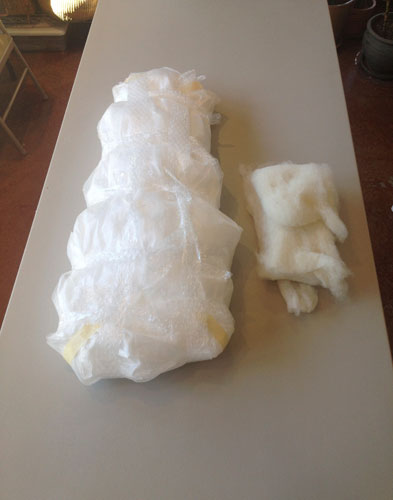
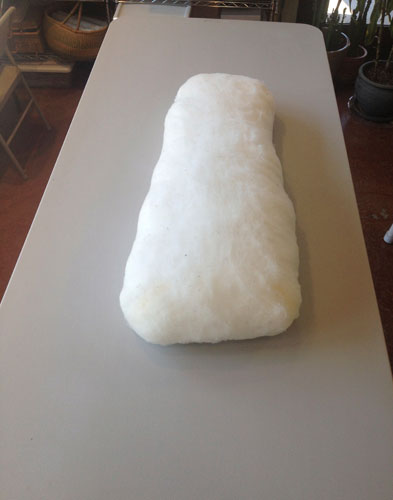
Instead, I chose to wrap each metal shoulder armature in many layers of plastic sheeting to enlarge the surface area three-dimensionally. In this method the armature is already inside so my cut would be very small, only big enough to allow me to remove the smaller pieces of plastic one at a time. I could agitate the felt as I reduced the amount of plastic inside the skin providing space for shrinkage little by little without the metal points coming in contact with the delicate felt. I avoided shrinking the area of the small opening to keep the felt less integrated so that when all the plastic was removed I could draw the cut closed with a basting stitch and the wool fibers would still felt together, bridging the cut.
[new_royalslider id=”22″]
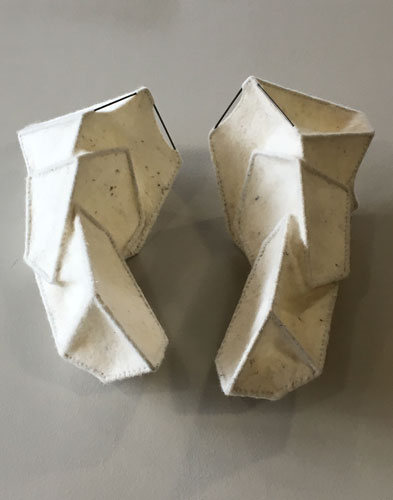
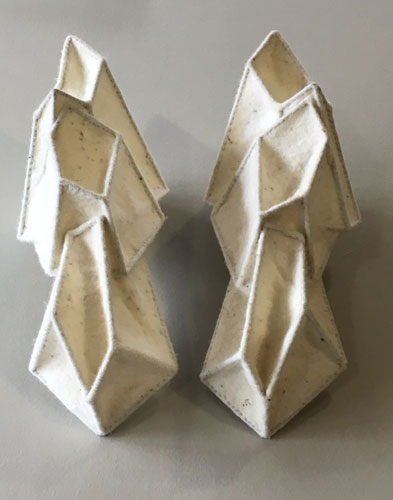
I continued felting the skin until it was nearly fulled and taut against the metal armature. I cut two slits where I needed to have the metal exposed so that Sarah West could connect the shoulder pieces to the metal forms encircling the neck. I then hand stitched the felt skin around the wire structure to give the form more angular definition.