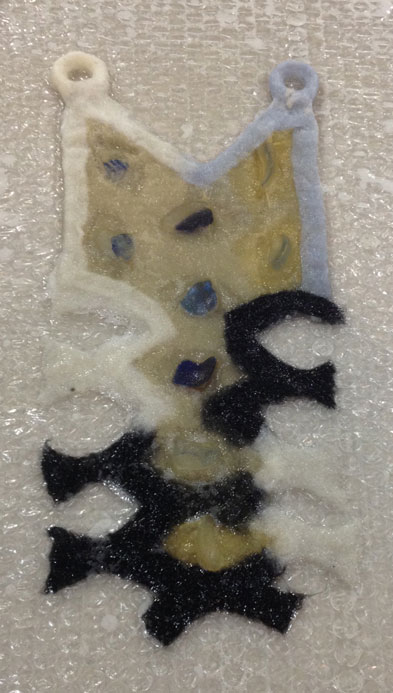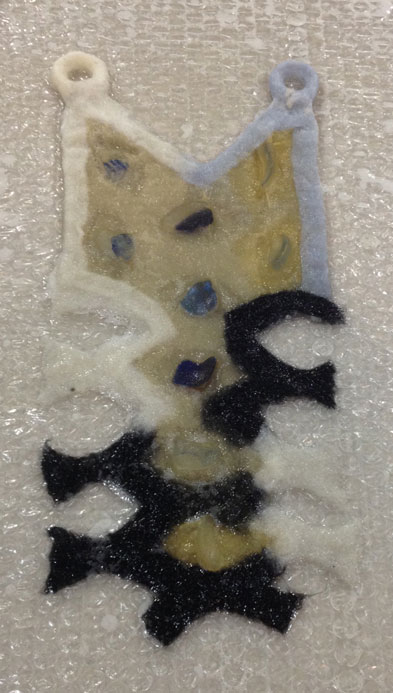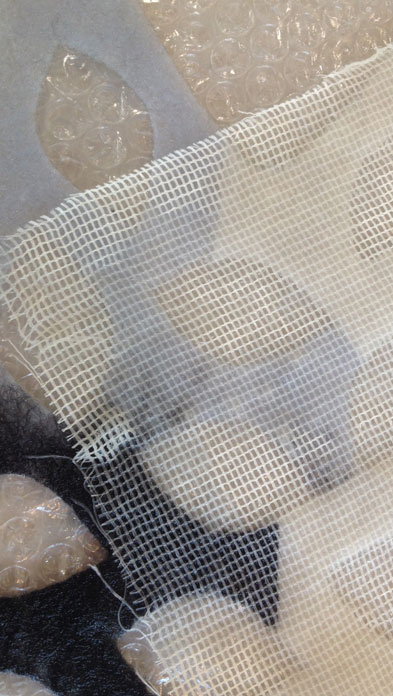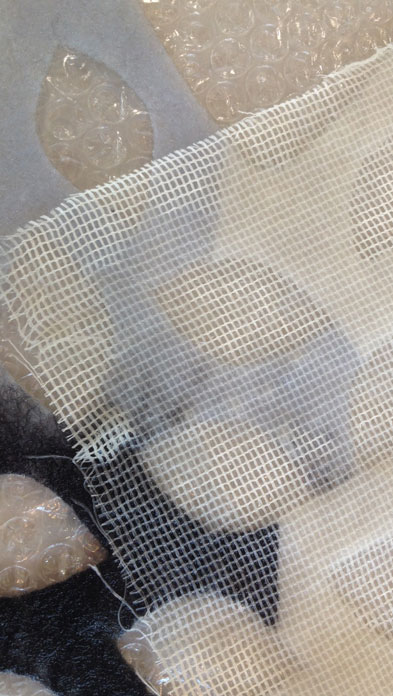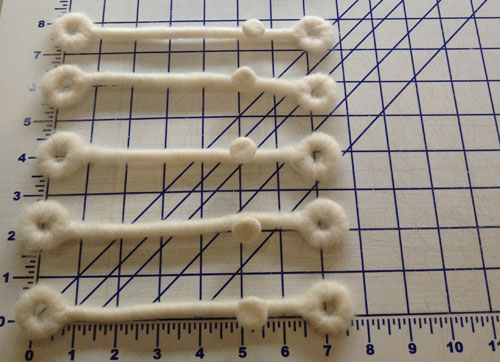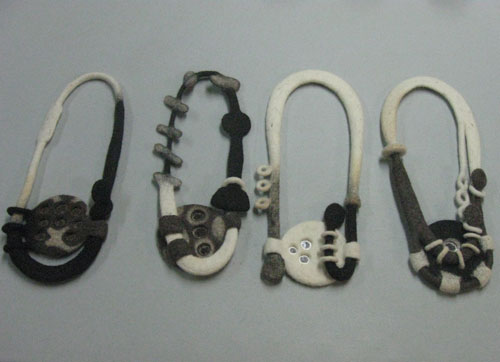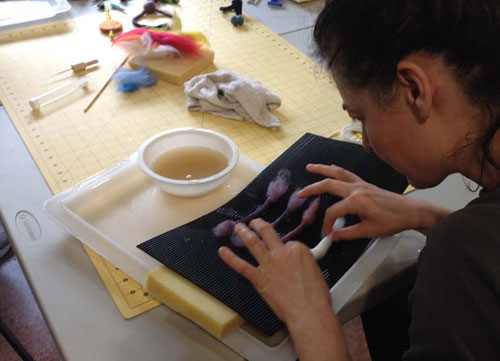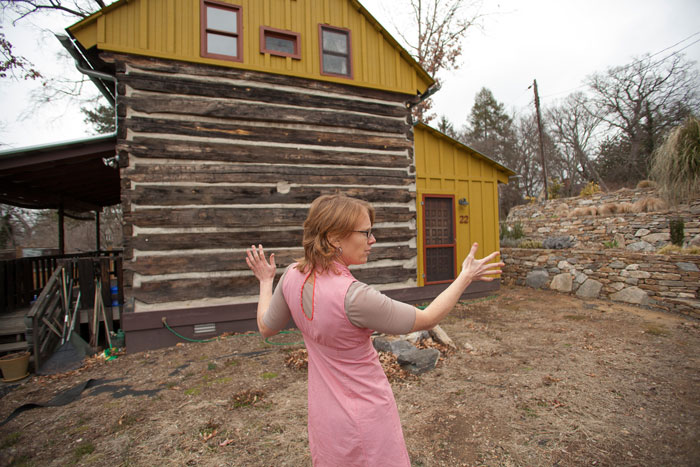
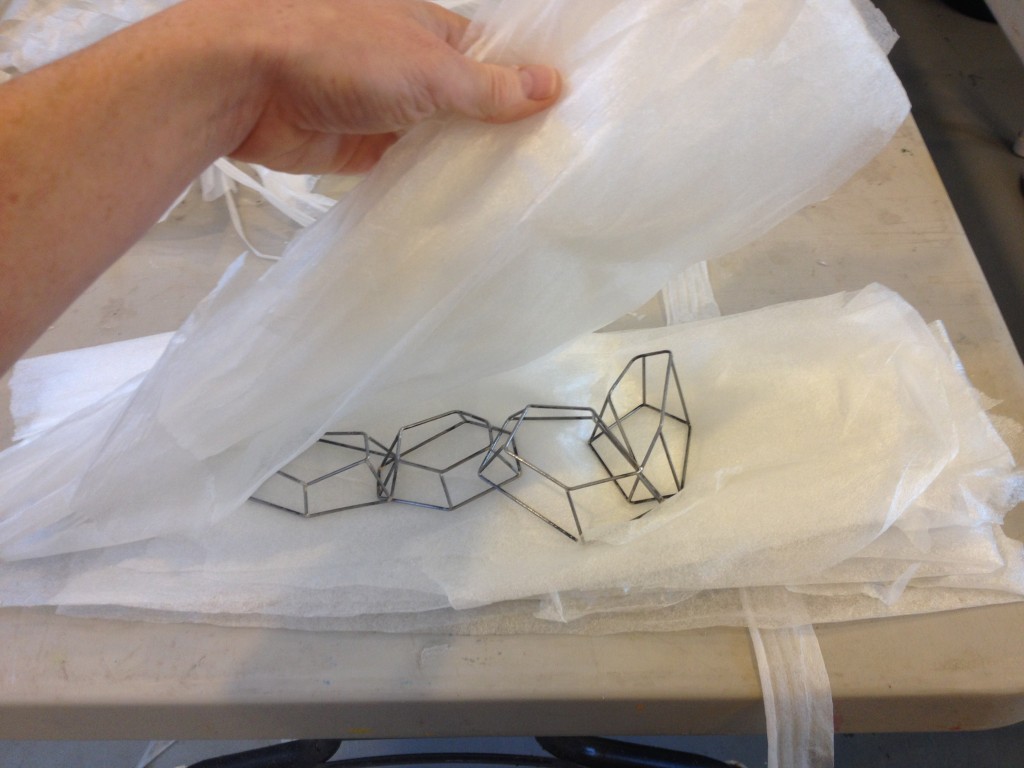
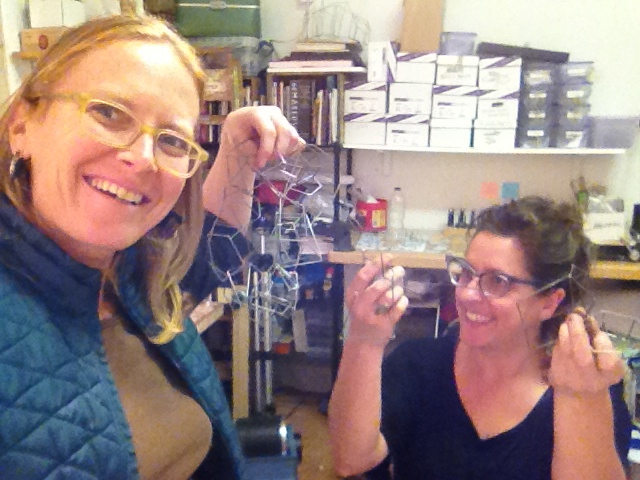
My previous blog entries about the SNAG EIM collaboration I am working on with Sarah West shared two approaches to encasing her 2-D steel frames in felt and then applying free-motion embroidery to that felt. These structures, however, were simplified components of Sarah’s striking, faceted gem forms on which she sets and manipulates pieces of vinyl records. The other approach we discussed for our preliminary explorations of combining our mediums and techniques was to, not only, entirely encase a single form, but many of them linked together.
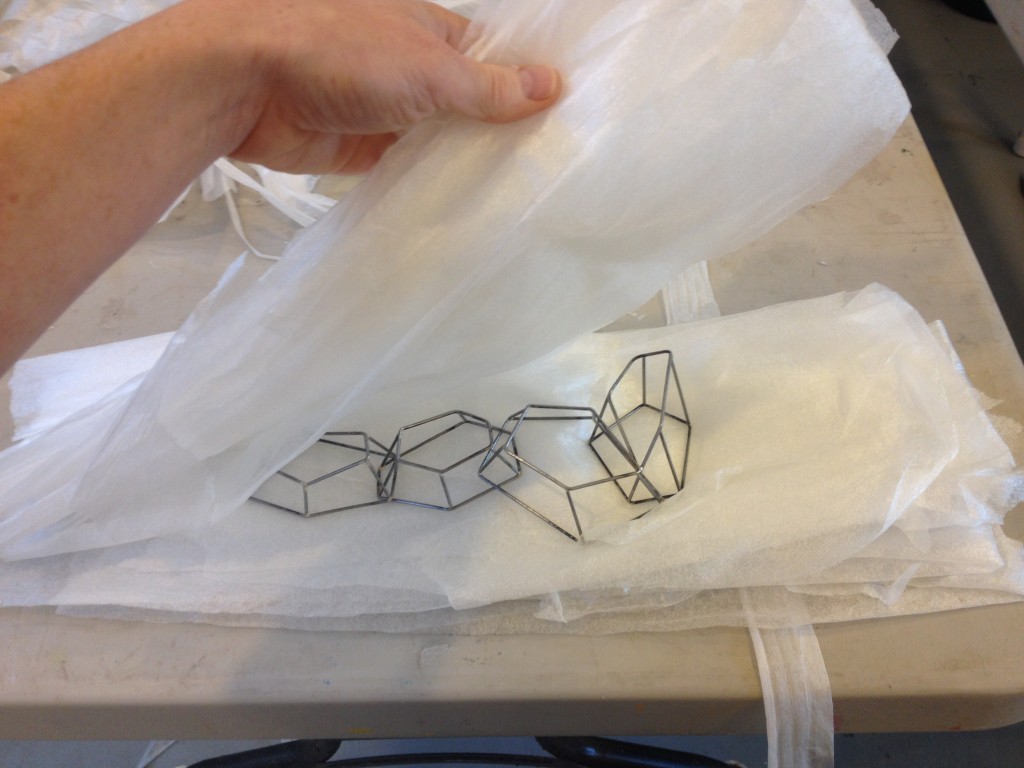 I determined the surface area of the form and calculated how much larger that area needed to be and how much wool to apply in order to achieve the % of shrinkage and quality of felt I desired.
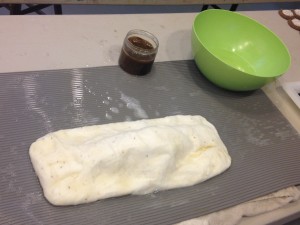
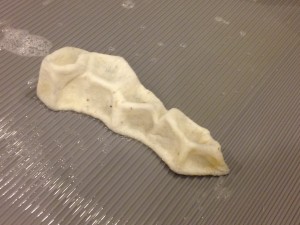
Once felting had commenced, I removed the plastic and continued to agitate the felt until it shrunk down, snug against the steel armature. The felt compressed the chain of interlinked forms, eventually suppressing its movement and the sound of that movement. I, then, hand stitched the felt around the wire to delineate the armature.
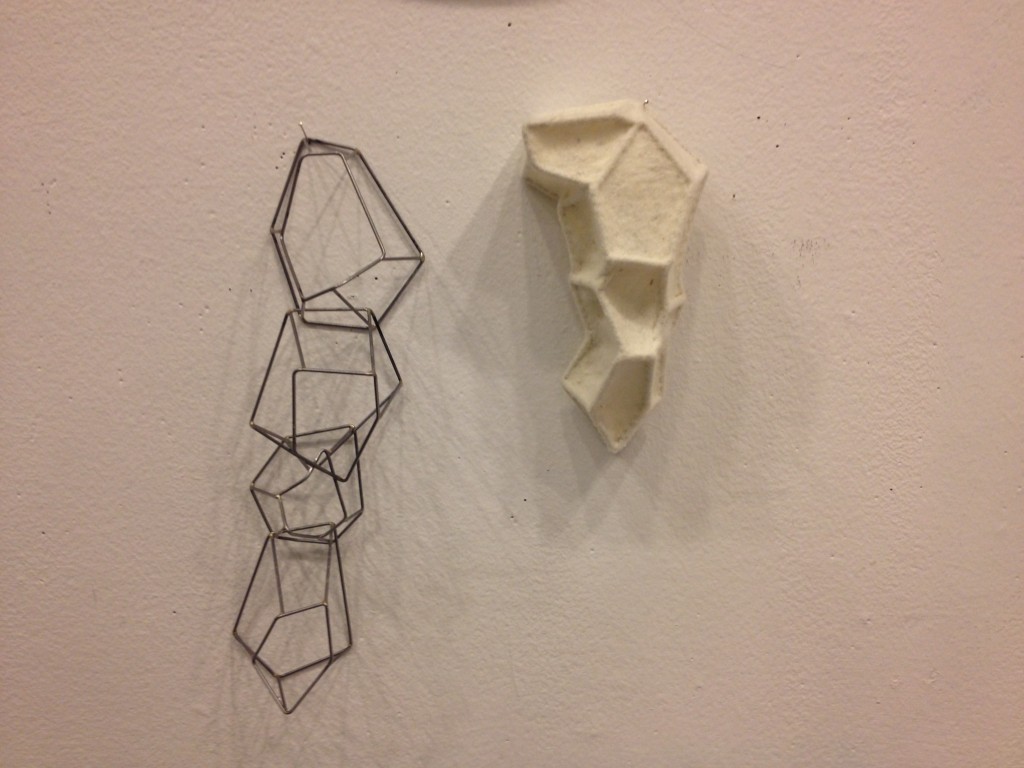
The felt encased steel structures, along with some sketches of more formal ideas I had during the making process, have been sent to Sarah. I look forward to hearing her thoughts so we can take the next steps: becoming clearer on our concept, the structure of the steel forms, the parts that will be encased in felt or set with vinyl, the surface design for the stitching, how large our format will be and how or where it will be worn. So very exciting!
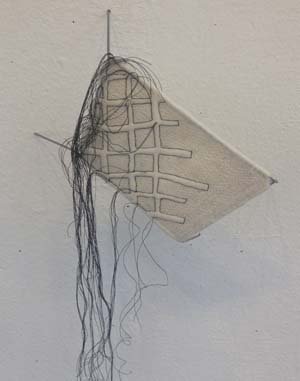
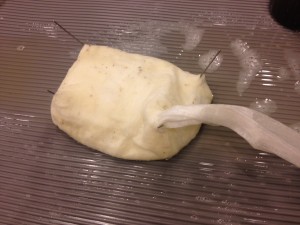
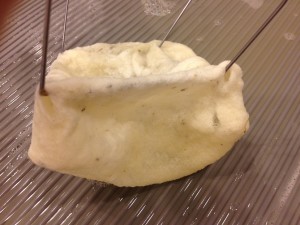
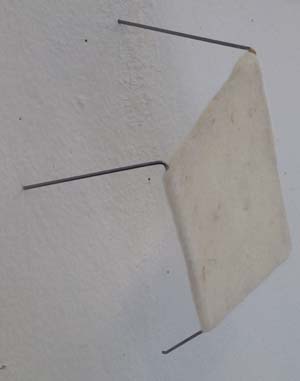
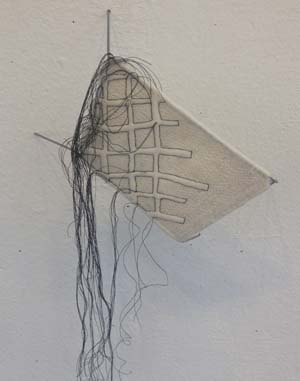
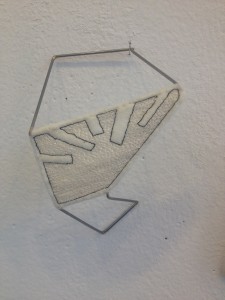
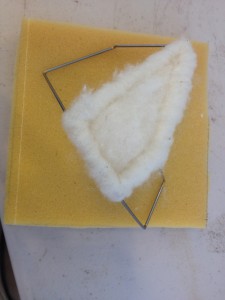
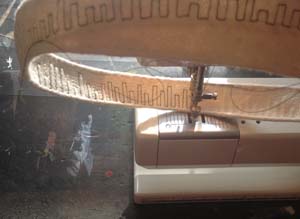
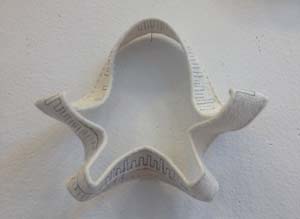
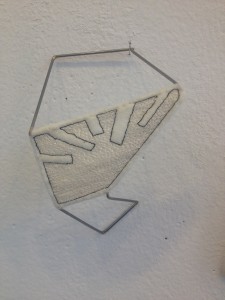 The first technique I applied was to wrap the wire frame with wool fiber and then lay fibers across the interior of the frame and proceeded with felting the wool. The structure was able to fit and be moved around under the sewing machine foot and I adore how the single line, black stitching mirrors the linear steel structure.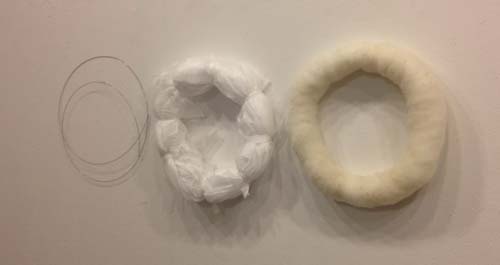
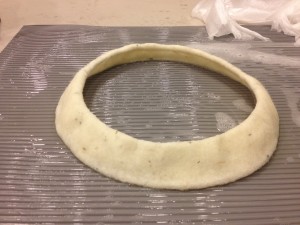
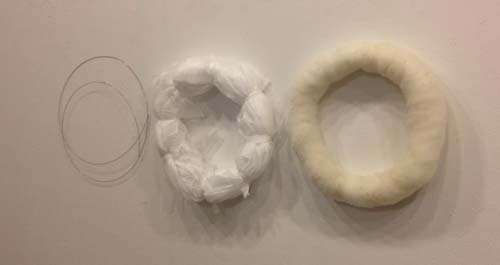 My first approach was to enlarge the bracelet armature I was previously making to develop a collar style neck piece. Wool must have space to shrink in order to become entangled into felt. Therefore, I calculate how much larger the surface area needs to be around the wire and build up to that dimension with plastic as well as how much wool needs to be applied over the plastic form so that I achieve a thin, high-shrinkage felt that is taut against the wire when well-fulled. NOTE: I introduce this concept in my teaching in the course,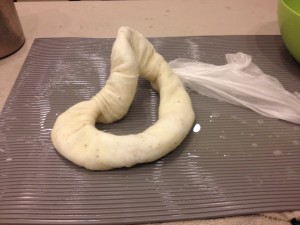


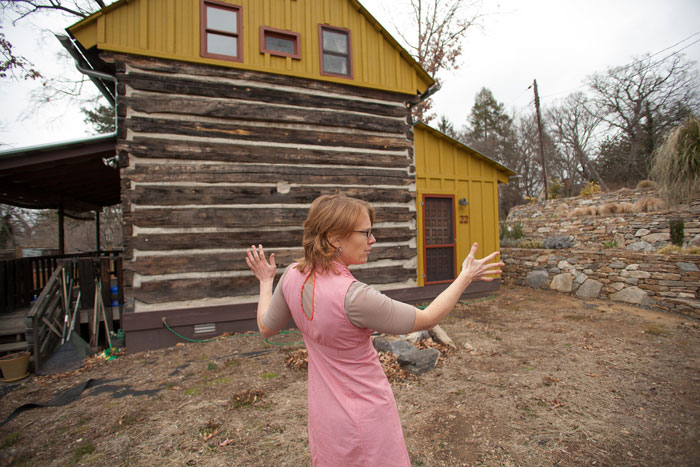
 I was presented with an Award of Excellence jointly by the American Craft Council and the Hambidge Center last March 2015 at the ACC Show at the Cobb Galleria in Atlanta, GA. Honored, of course, but unaware of the Hambidge Center, I had wondered what the awarded two-week residency would entail. Considering I live only 2.5 hrs from the Hambidge Center, would the environment there be that different to affect my thinking and making? At this point in my career I have my own home studio, would it be worth packing up my studio to bring to the Hambidge Center? I have the solitude and dedicated time for my studio practice as a single, full time artist without kids or pets, would it be worth leaving the comfort of my home for what awaited me in Dillard, GA?
 I have just returned from spending the first two weeks of December 2015 in the Fisher house, one of nine residences on the 600 acre property. The center was created in 1934 by Mary Hambidge as an artist enclave and farm where she employed Appalachian weavers and gained significant recognition for their textiles. After her passing in 1973, the center transformed into a residency program for creatives from various fields. More information on herstory can be found on
 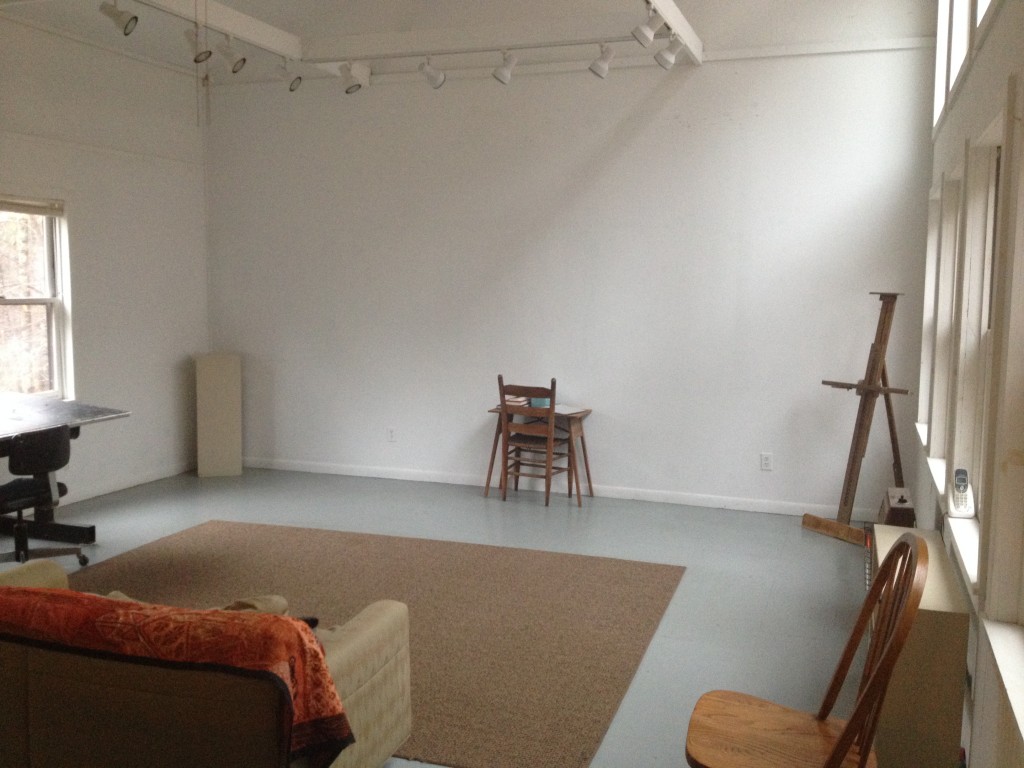 The Fisher house has the largest visual arts studio with wonderful northern light. I existed primarily in this space aside from attending group dinners with the other 8 creatives Tuesday through Friday nights in a main building on the grounds, a handful of solo hikes on their trail system and a few sauna’s in a structure built by a former resident. It was a very comfortable space with my own kitchen, bedroom, bathroom and studio and the experience was certainly worth the effort of packing up my studio and relocating. Following posts will discuss the affects on my thinking and making….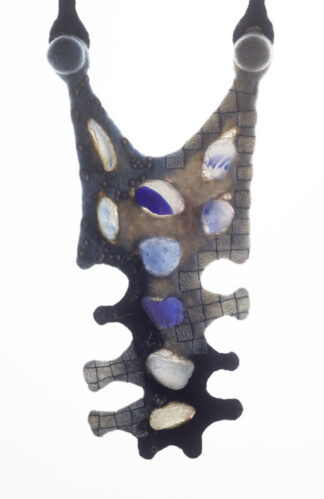
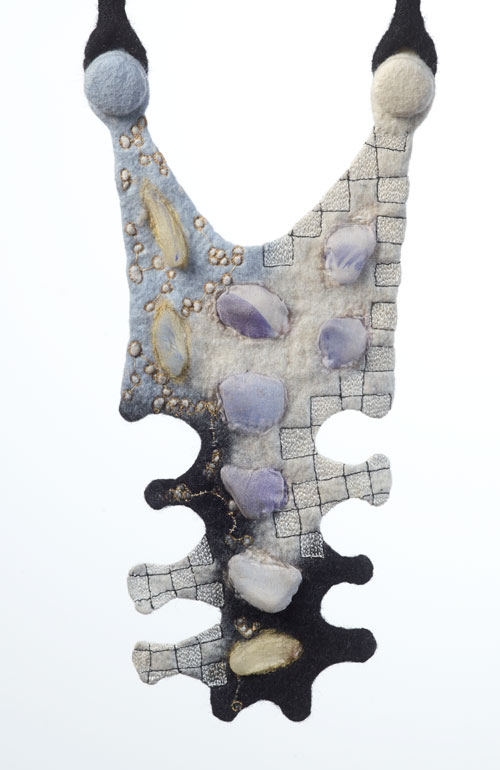
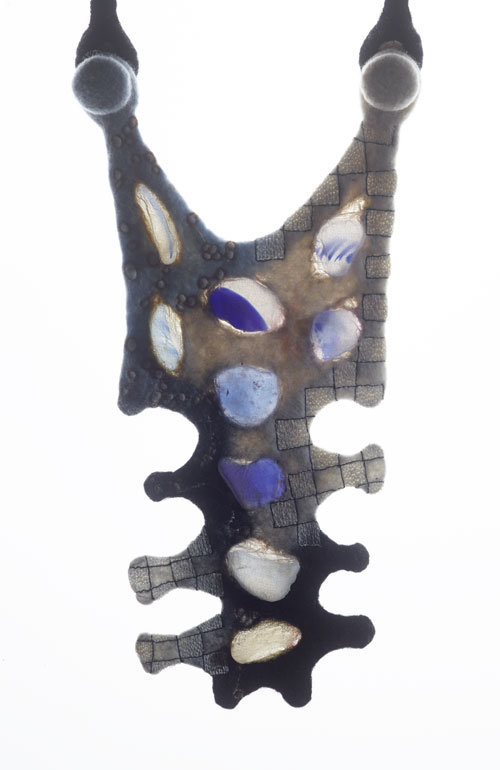
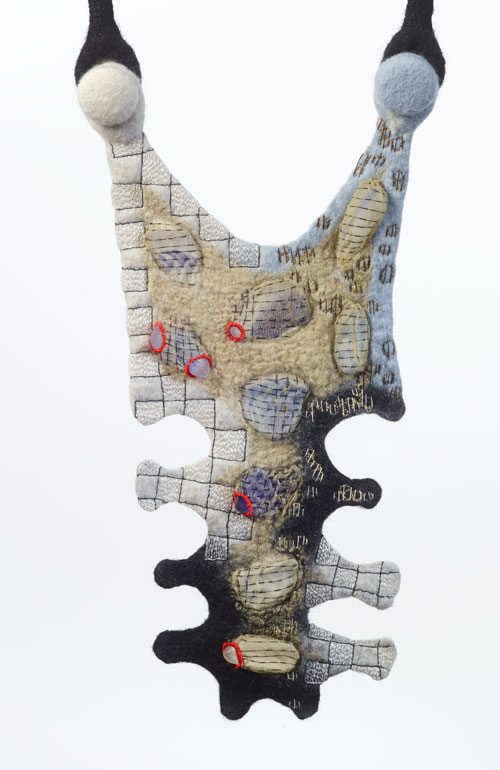
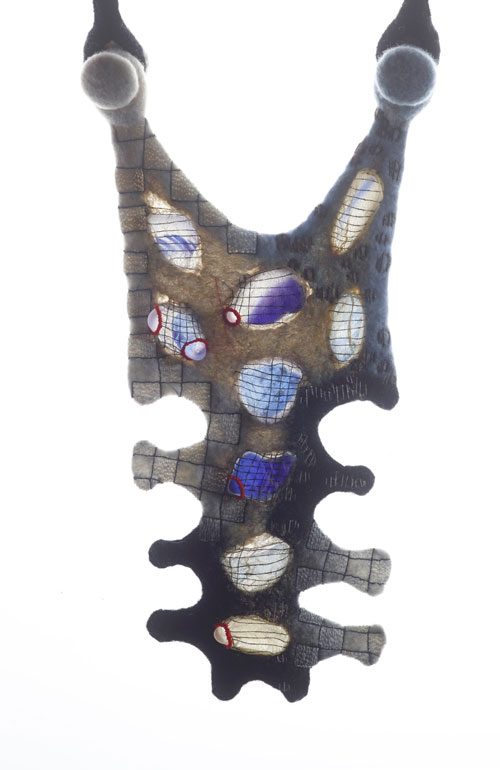
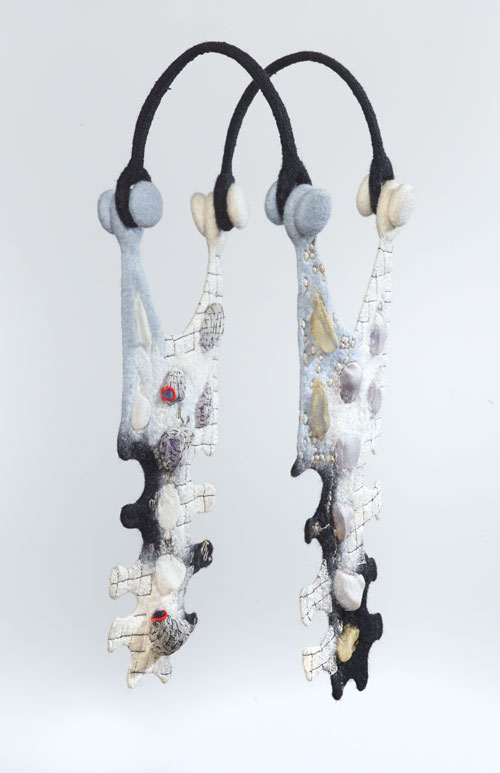
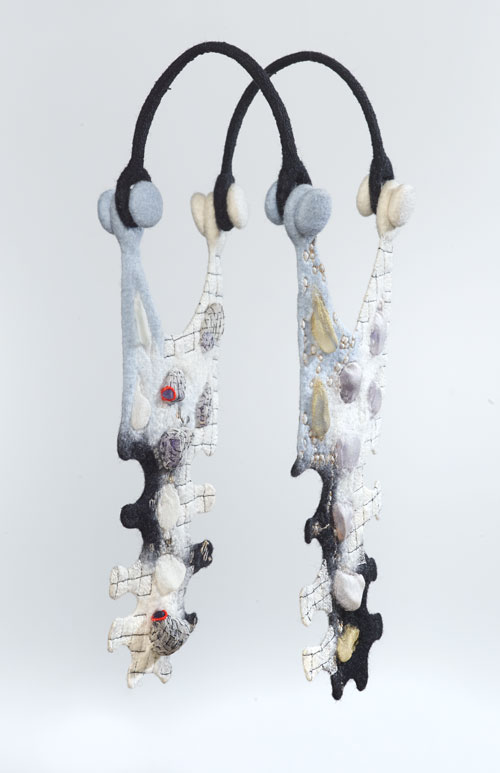 My donation piece for the DHG Charity Project has arrived in Prato, Italy! Dyeing House Gallery has posted an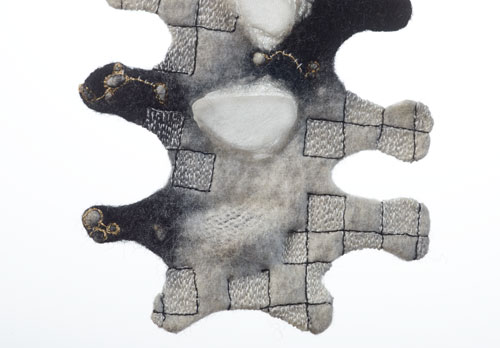
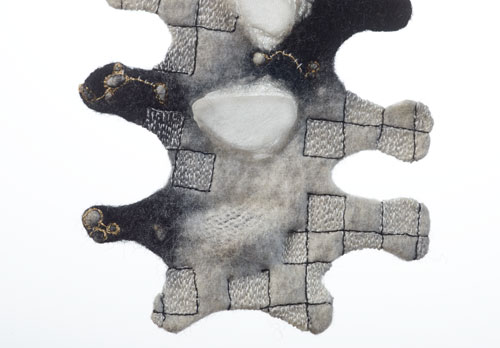
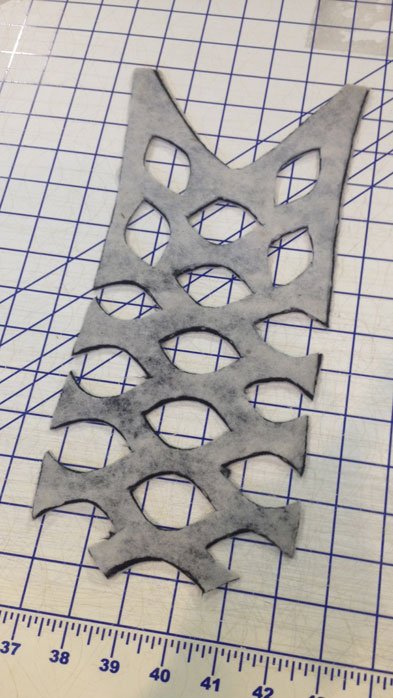
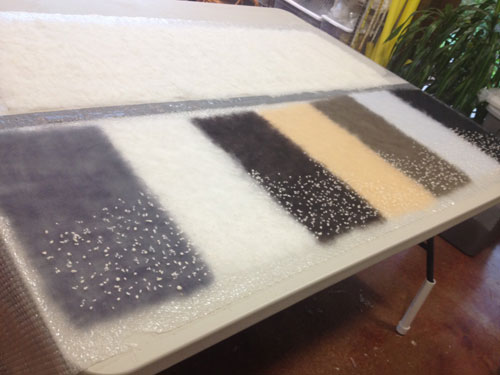
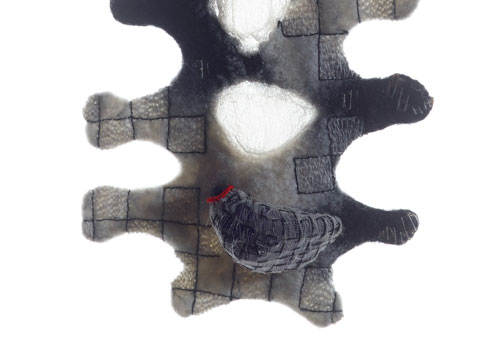 I closely observe the materials I choose to work with. I had mentioned making wet felted partial felt from DHG’s Merino Top. I had laid it out very fine giving it approximately 90% shrinkage. I had fulled it to 60-70% of its possible shrinkage before I cut the fence patterning from it and from the white needle felted batts from DHG. The black wet felted partial felt shrank down smaller than the same fence shapes cut of the white needle felted sheets because they were thicker with more wool/area. The black partial felts were also thinner when fulled and had more drape. The white needle felted batts, being thicker, had more airspace to compact with the machine stitching, offering me the ability to emboss the surface. One material or approach isn’t necessarily better than another, just simply different. If you pay attention and study your materials you can choose what products or ways of working will best achieve your desired effect.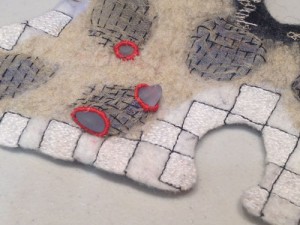
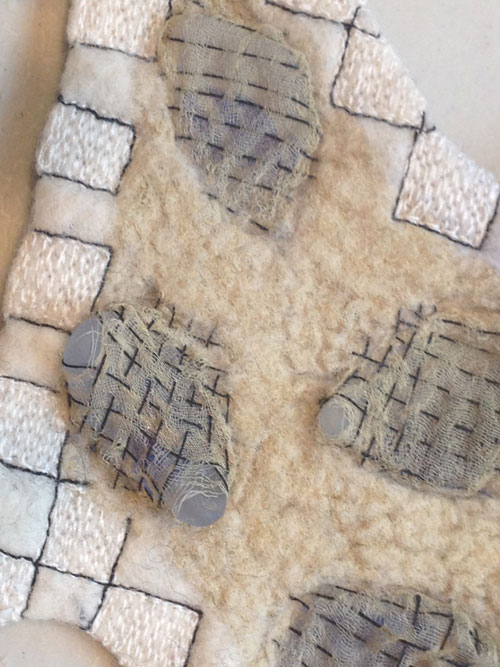
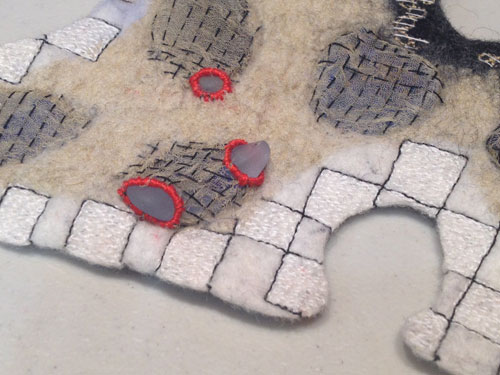
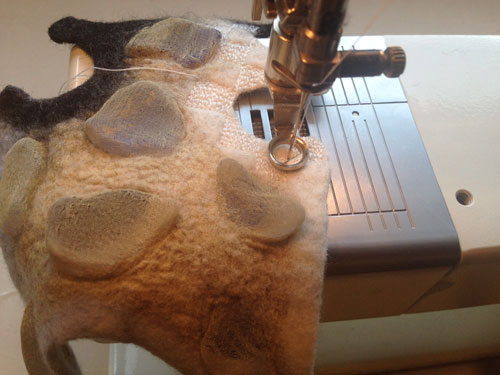
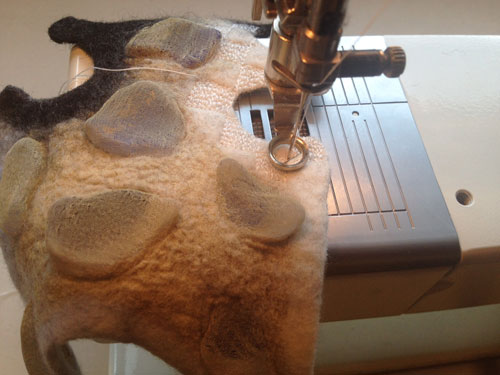
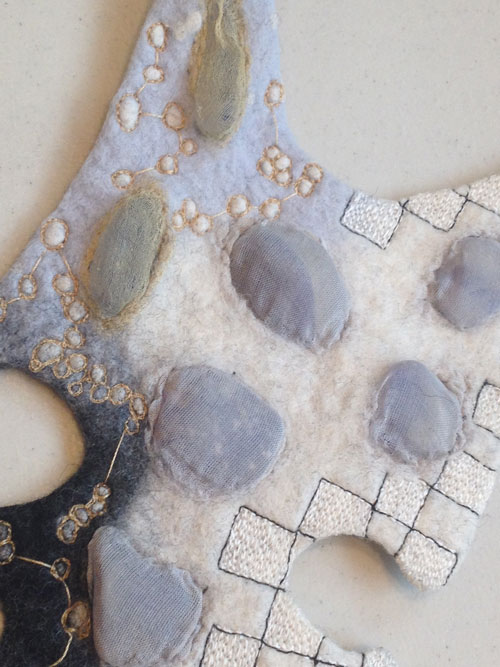 I delight when it is time to transition from the wet felting process to the machine stitching. Of course, it is nice to not have the hands constantly wet, but it also marks the end of the constructive part of a piece. With all 6 of the components of the piece, Reparation, completed, it is time for the surface refining. Free-motion embroidery compacts the airspace that is remaining in the felt creating a stiffer fabric as well as an embossed surface, an effect that is more dramatic when the felt is thicker and not as densely fulled. Now that I had made a correlation between this piece I was making for the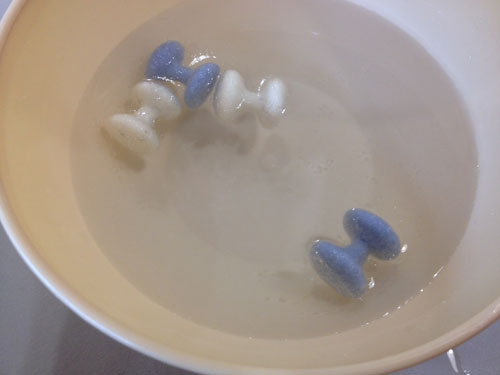
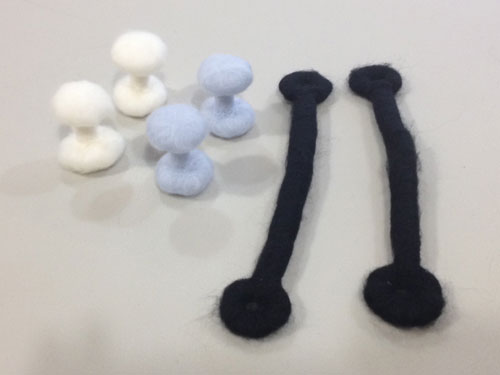
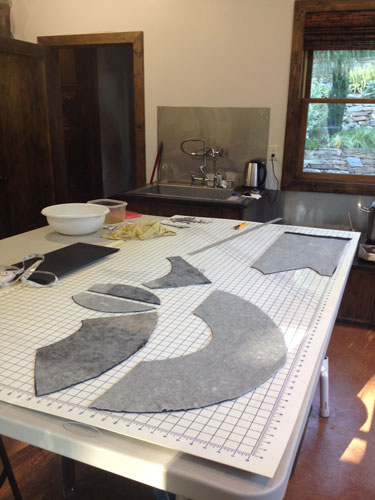
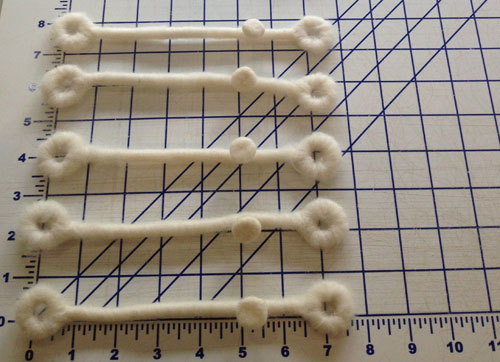
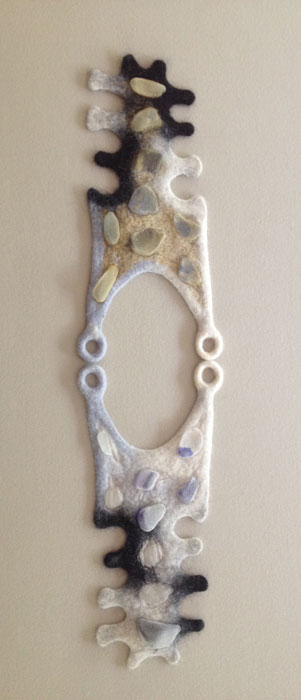 I had decided the piece didn’t feel strong enough with only a focus piece to lay on the chest of the wearer. I wanted the piece to feel more like wearing armor and having a fence or a stone wall of glass on either side of the heart would create that expression. Therefore I made a chest and back piece as seen here laying flat on my studio table. The space between the chest and back piece is too small to have the necklace encircle the neck, so the next strategy of making was creating the clasping mechanisms to join the two pieces into one….
 During the making of this piece for the